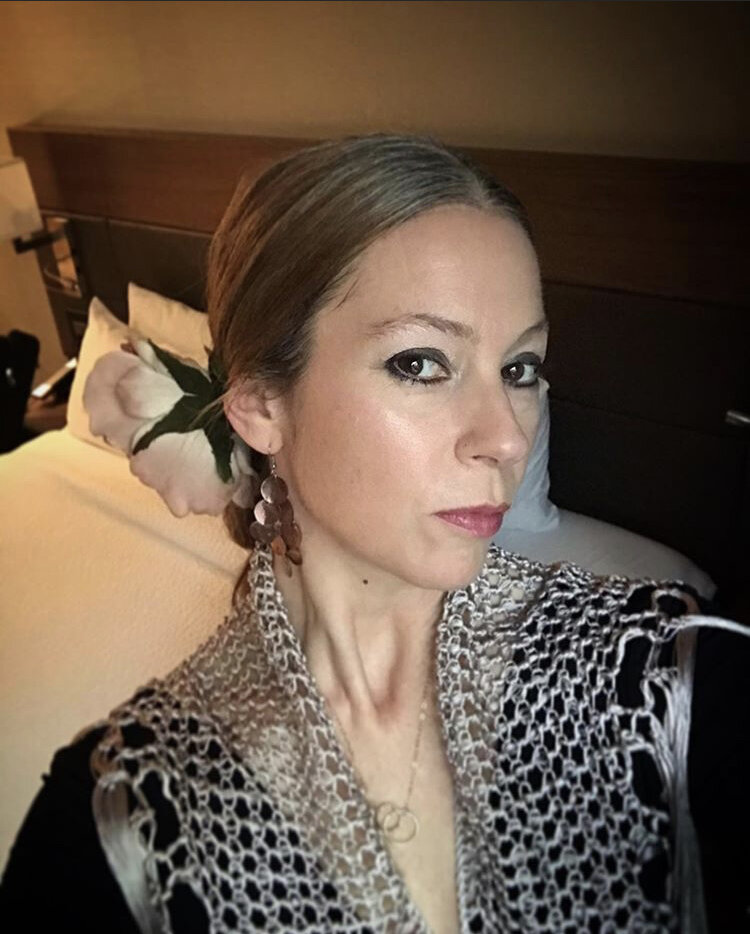
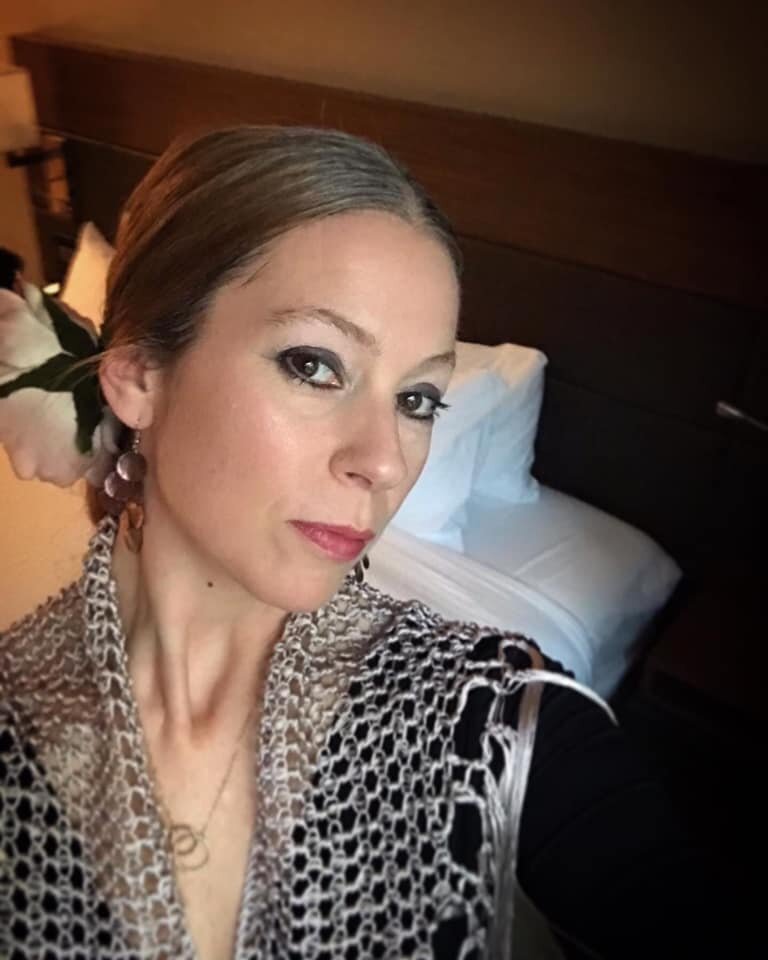
![How To Do Your Makeup So You Feel Comfortable Donning Those Silver Strands For a Performance [That Flamenco Look]](https://images.squarespace-cdn.com/content/v1/568079e7bfe873f15c115eee/1584009067497-4IV5Q1BIROW0H8JYIBWR/Laura+show.jpg)

Flamenco performance makeup for a daylight show
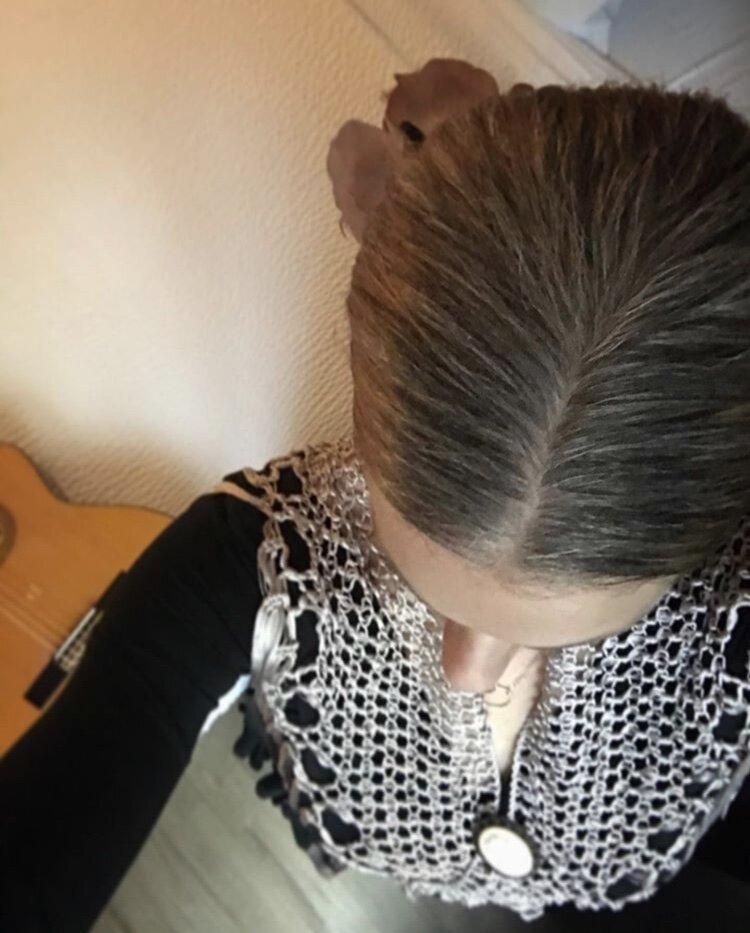
The other day I had a show, and I let my grey hairs be.
(Last performance I used Diana’s, pretty incredible, hair powder to cover the roots.)
It felt weird, like it was the wrong place to expose my work-in-progress hair.
Mainly because it is very clearly only partially grown out.
Would people be thinking, “Wow this lady is too lazy to even take care of her hair before she goes out to perform?!”
I decided that no they wouldn’t.
I made up for my hair insecurities with the clothes and accessories I chose to wear,
The way I did my hair,
And,
My makeup.
I’m not going to lie.
I would have felt more comfortable covering up those roots, but I’m glad I didn’t.
(Who knows what route I’ll choose to take next time.)
Now, about that makeup…
After posting The Skinny on Flamenco Performance Makeup some people wanted to see the makeup on an actual person, so I’m showing that to you today and revealing my steps in case you’d like to create this look yourself.
This is a more relaxed look than the one outlined in The Skinny as it was for an early evening short daylight show. (The performance took place at the AC Hotel in a lounge with large windows allowing in the outside light, so less makeup was needed.)
How I Got This Look:
STEP ONE:
Prep face. It’s important to begin with a clean face!
(I washed with Countertime Cleansing Oil and gently exfoliated with a warm damp washcloth.) Washing with an oil cleanser is perfect because it cleans the face but leaves it hydrated. The last thing we want is to apply makeup to dry skin where it will flake off or just look blotchy.
STEP TWO:
Apply two to three drops of No. 1 Brightening Oil to your freshly washed face.
I am all about the glow, and this maximizes it!
STEP THREE:
Apply foundation using your favorite foundation application tool or fingertips.
(I used Dew Skin Tinted Moisturizer to get both coverage and sun protection. If you wanted additional hydration, you could apply moisturizer prior to this. If I were to use a standard foundation I would wear moisturizer underneath.)
STEP FOUR:
Apply concealer to prime eyelids.
(I used the Touch Up Concealer Pen. ) Eyelids can be pretty transparent so it’s a good idea to use concealer to give a neutral base on which to apply color.
STEP FIVE:
Apply blush to apples of cheeks.
(I used Satin Powder Blush in Nectar.)
STEP SIX:
Apply eyeshadow.
(I used the following colors, listed in order from top to bottom, from the Velvet Eyeshadow Palette in Romantic):
Cameo (top)
Candlelight (just above crease) Keep shadow toward outer edge of eye rather than inner.
Moto (bottom lid to crease) ***I actually prefer to apply this after eyeliner because of its dark color to avoid smudging.
Moondust (inner eyelid and above crease as accents)
STEP SEVEN:
Line the eyes with eyeliner.
(I used Color Outline Eye Pencil in Black.)
First outline the top of the lid starting in and working your way out. (I like to take this line at least a little past the eyelid, even for a daytime show.)
Next outline under the eye, again working your way from the inside out. (I like to outline the entire eye using a thinner line in the innermost areas.)
Apply a lighter line in the crease of the eye then blend a bit with the smudge tip.
STEP EIGHT:
Add dark eyeshadow.
(This is when I apply dark ‘moto’ eyeshadow to lower lid. See Step Six above.)
STEP NINE:
Apply concealer under eyes.
(I used the Touch Up Concealer Pen again for this.) It’s a good idea to wait to apply under-eye concealer until after you’ve finished doing your eye shadow and liner in case anything falls down or you have any mistakes to clean up.
STEP TEN:
Apply mascara.
(I used Lengthening Mascara.) Especially if you have longer lashes keep most of the mascara toward base of lashes to prevent it from smudging and to keep things clean.
Top: Start at the base of the lashes and gently rock the brush up the lash then pull to the tips.
Bottom: Lightly rock from the root to ends to reveal lash length.
STEP ELEVEN:
Apply lipstick.
(I used Color Intense Lipstick in Little Black Dress.)
NOTE:
I had some Instant Eye Makeup Remover and Q-tips on hand to spot correct eye make up mistakes along the way. I prefer to use this as just a spot corrector and remove my eye makeup with my cleansing oil or Lotus Glow Cleansing Balm.
And that’s it!
Ready to give it a try? Let me know how it goes for you in the comments below.
Don’t Forget Your Makeup Bag!
This is a small but important detail. Depending on the circumstances you may choose to apply your makeup at home or on-site. Should you choose to do your makeup at home before going to your show, don’t forget to bring your makeup bag anyway. You may (likely will) need to do some touching up, especially if there’s a lot of time between when you leave the house and your show.
*As an Independent Consultant for Beautycounter, at no additional cost to you, I will earn a commission should you decide to make a purchase after clicking thorough a link on this page. I recommend these products because I use and love them and appreciate that they safe, high performing, and ethically sourced. Please do not spend any money on these products unless you feel they will be useful to you.
Did you know that Beautycounter makeup is free of lead, asbestos, formaldehyde, and over 1800 questionable or harmful chemicals? Did you know that each batch of color cosmetics is tested for a suite of heavy metals before going on the market? Did you know the ingredients, like mica, used are ethically sourced?
Yes, makeup can be high performing, safer, and responsibly made.
More Makeup?
I’m thinking I should have rounded things out with a bit of eyebrow pencil. What do you think? (Trust me, I know my natural eyebrows are very out of synch with current beauty trends.) Would you like to see video of this process? And don’t forget to tell me how this process worked for you in comments below.